Cutting 20mm porcelain cleanly comes down to four things: a thin, hard-bonded diamond blade made for vitrified porcelain, a slow and steady feed, water or dust extraction to keep the blade cool, and scoring the glazed face before you commit to the full cut. Get those right and you can take a dense 20mm paving slab through to a chip-free edge with an angle grinder or a bench saw.
Why 20mm porcelain is harder to cut than standard tile
20mm vitrified porcelain, the kind used for outdoor paving and patio slabs, is fired denser and harder than the 8mm to 10mm porcelain used on walls and floors. Three things make it awkward to cut. The glaze on the face is brittle and chips easily, the body is abrasive enough to wear a soft blade quickly, and the extra thickness builds more heat and gives the blade more chance to wander off the line. A blade and technique that work fine on a thin wall tile will chip, slow down or overheat on a 20mm slab.
Choosing the right blade for 20mm porcelain
Thickness and bond
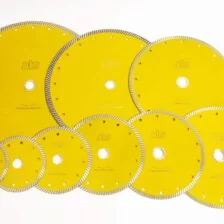
A thin blade removes less material, so it cuts faster, needs less power and leaves a cleaner edge with less chipping. The bond also matters: porcelain is abrasive, so it needs a hard, dense bond that holds the diamonds in place rather than wearing away too fast. The Turbo Diamond Blade for 20mm thick Porcelain is built for this exact job: it cuts the full thickness of dense vitrified porcelain wet or dry and leaves a clean edge.
Turbo or continuous rim
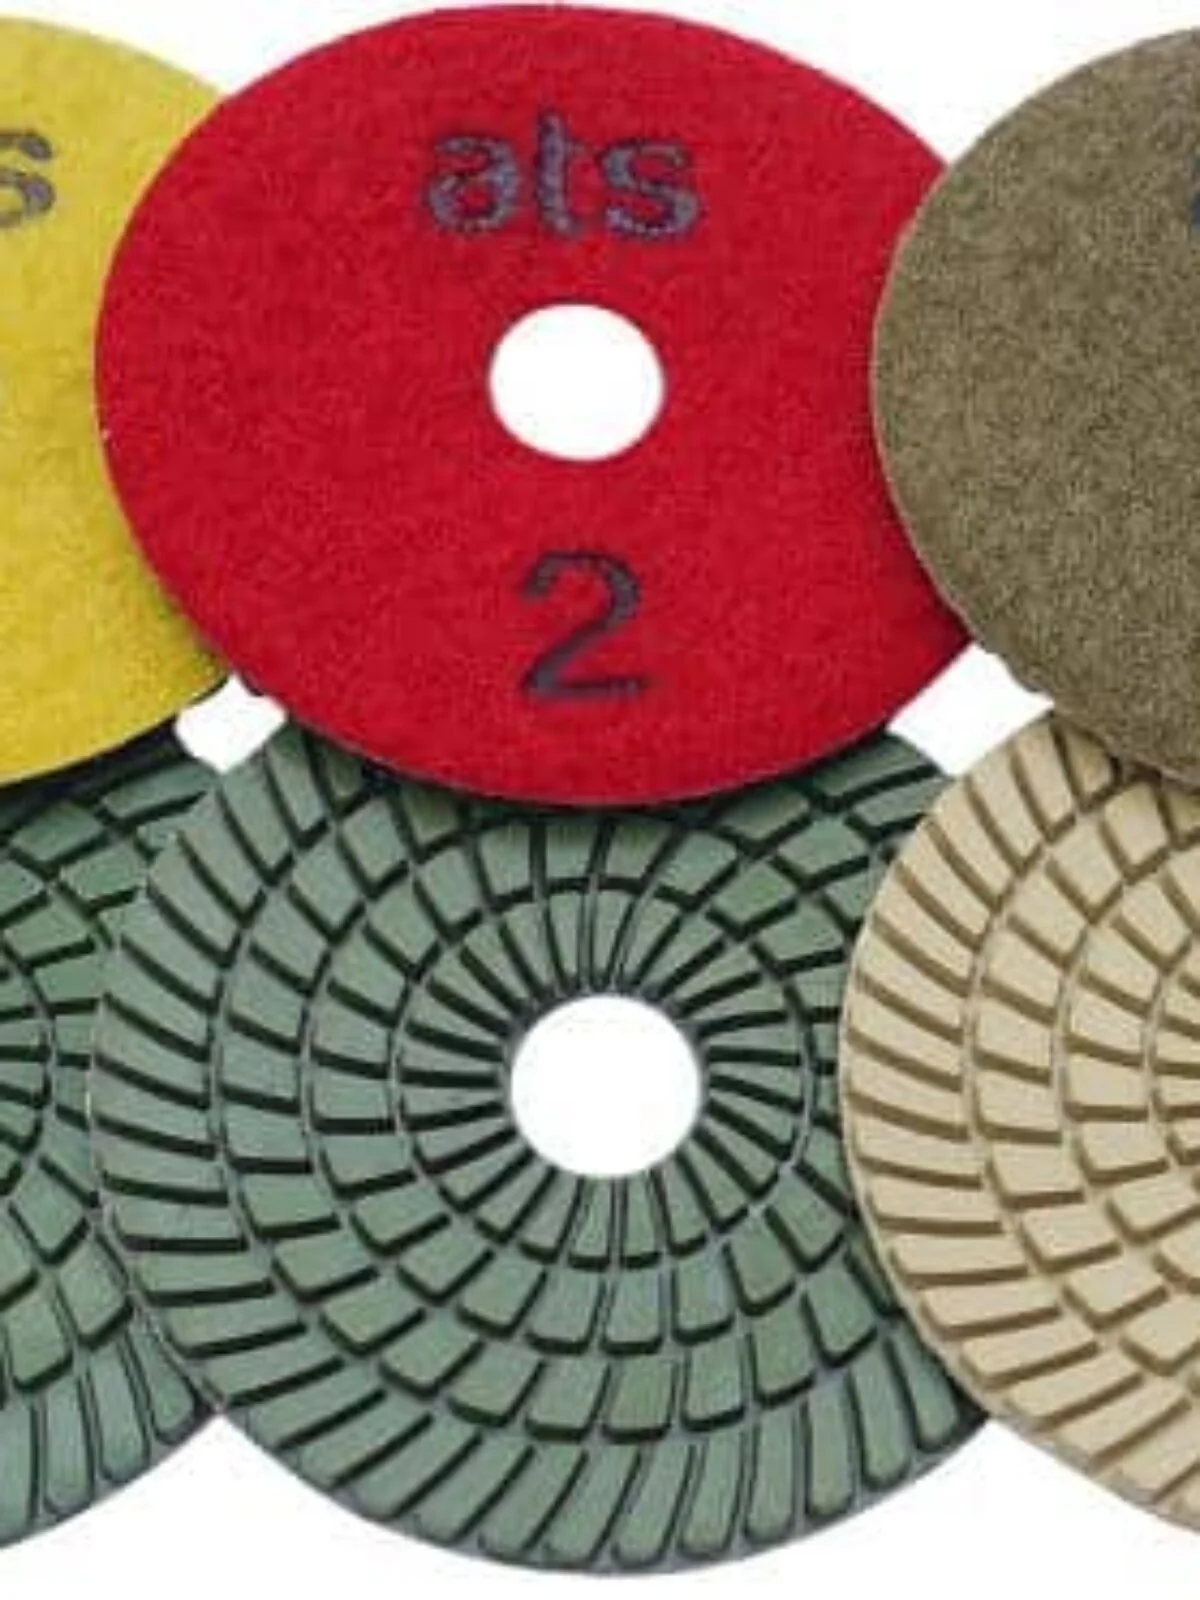
A turbo rim has a serrated continuous edge that balances speed and finish and clears heat well, which suits a thick, dense slab. A continuous rim gives the smoothest, least-chipped edge but cuts slower and wants water to stay cool, so it is the choice when the cut edge will be on show. The Porcelain Continuous Rim Diamond Blade handles porcelain, hard ceramic and quarry tiles, while the thin Porcelain & Quartz Thin Turbo Flange Blade keeps the kerf narrow for fast cuts on an angle grinder. Browse the full diamond cutting blade range to match a blade to your saw.
Wet or dry: which is cleaner?
Wet cutting is cleaner and cooler. The water flushes the swarf out of the cut, stops the blade glazing and keeps dust down to a slurry. It is the best choice for long cuts and finished edges. Dry cutting is more convenient on site, but cut in short passes so the blade can cool between them, and always use dust extraction. Whichever you choose, keep the blade moving and never let it sit spinning in one spot.
Which saw should you use?
You have three realistic options for 20mm porcelain. An angle grinder with a 115mm or 125mm porcelain blade is the most common on-site tool: cheap, portable and fine for straight cuts, notches and curves, working in passes. A tile saw or bridge saw with a water feed gives the straightest, cleanest long cuts and is worth using for runs of matching paving. A plunge or rail saw with a porcelain blade is a sensible middle ground for long straight cuts where a grinder would wander. Whichever you use, check the blade is rated for porcelain and fitted the right way round, with the arrow on the blade matching the direction of rotation.
Step by step: cutting 20mm porcelain cleanly
1. Support and mark the slab
Support the slab fully on both sides of the cut line so the offcut cannot drop and tear the last few millimetres of the cut. Mark the line on the glazed face. A strip of masking tape over the line gives the glaze something to hold onto and reduces chipping along the edge.
2. Score the glazed face first
Run a shallow scoring pass, around 2mm to 3mm deep, along the line before you go full depth. This breaks the glaze cleanly and gives the deeper cut a channel to follow, which stops the blade wandering and chipping the face.
3. Cut in passes
Do not force the blade. Let its weight do the work and increase the depth a few millimetres per pass on a thick slab rather than going full depth in one go. Forcing the blade overheats it, glazes the bond and burns the edge, which leaves a rough, discoloured cut.
4. Finish the edge
Take the sharp arris off the cut edge with a diamond hand pad or a light pass with the side of the blade. This removes any micro-chips and tidies the edge, which matters on visible patio and worktop edges.
Keeping chips off the glazed face
Most chipping comes down to a few fixable causes. Use a thin blade, tape and score the glaze before the full cut, feed slowly, and ease off as the blade breaks through the far edge. If the finished edge will face up, cut from the back of the slab so any minor chipping stays on the hidden side. It also helps to make the first scoring pass slowly and only speed up once the blade is tracking in its own groove, since the glaze chips most in the first few millimetres of the cut.
Controlling the dust
Dry-cutting porcelain produces fine silica dust, which is a real health risk, so capture it at source. The AirDuster 2.0 dust extraction shroud fits an angle grinder and pulls dust away at the blade, connecting straight to a vacuum. Wear an FFP3 mask as well, and cut outdoors or with extraction running whenever you can.
FAQ
What blade should I use to cut 20mm porcelain paving?
A thin, hard-bonded diamond blade made for dense vitrified porcelain, such as the Turbo Diamond Blade for 20mm thick Porcelain. It cuts the full thickness wet or dry and leaves a clean edge, where a general masonry blade would chip and overheat.
Can I cut 20mm porcelain with an angle grinder?
Yes. A 115mm or 125mm grinder with a porcelain blade handles 20mm slabs well, working in passes. For long straight cuts a bench or rail saw gives a straighter line, but a grinder is fine for most paving cuts and notches.
Should I cut porcelain wet or dry?
Wet is cleaner and cooler and is best for long or finished cuts. Dry is convenient on site as long as you cut in short passes to avoid overheating and use dust extraction. Both work with a blade rated for wet and dry use.
Why is my porcelain chipping along the cut?
Usually a blade that is too thick or too soft, feeding too fast, or skipping the scoring pass. Tape the line, score the glaze first, slow the feed at breakthrough, and use a thin continuous or fine turbo rim for the cleanest face.
How do I stop the blade wandering off the line?
Score a shallow guide channel first and let the blade settle into it before going deeper. Keep the grinder square to the slab and do not twist the blade in the cut, which flexes the line and risks cracking the disc.
Do I need to seal the cut edge?
Porcelain is non-porous so the body does not need sealing, but a light chamfer with a diamond hand pad tidies the arris and removes micro-chips on exposed patio edges.